How do I mount a picture hanging system?
You have decided to use an Artiteq picture hanging system. This is a choice that, later on, will offer a great deal of flexibility and creativity, and also will not damage your walls over time. Once you have received the Artiteq picture hanging system of your choice, this can be mounted. Depending on the type of Artiteq picture hanging system that you have chosen, mounting instructions may differ from the steps listed below. These are the steps for Artiteq’s picture hanging system ‘Click Rail’. Always read the mounting instructions supplied with the Artiteq picture hanging system.
1. Decide on the length (in metres) that you require
Before ordering your picture hanging system, it’s best to decide which wall the Artiteq picture hanging system will be mounted on. Carefully measure the length of that wall beforehand. The Artiteq rails have a standard length of 200 cm. Example: if you require 15 metres, order 16 metres. If there are multiple recesses or corners, we recommend ordering a few additional metres. As more pieces will have to be cut to size, you may be left with some oddments.
* Artiteq also has a rail of 300 cm. These are often used in projects.
2. Painting the rail
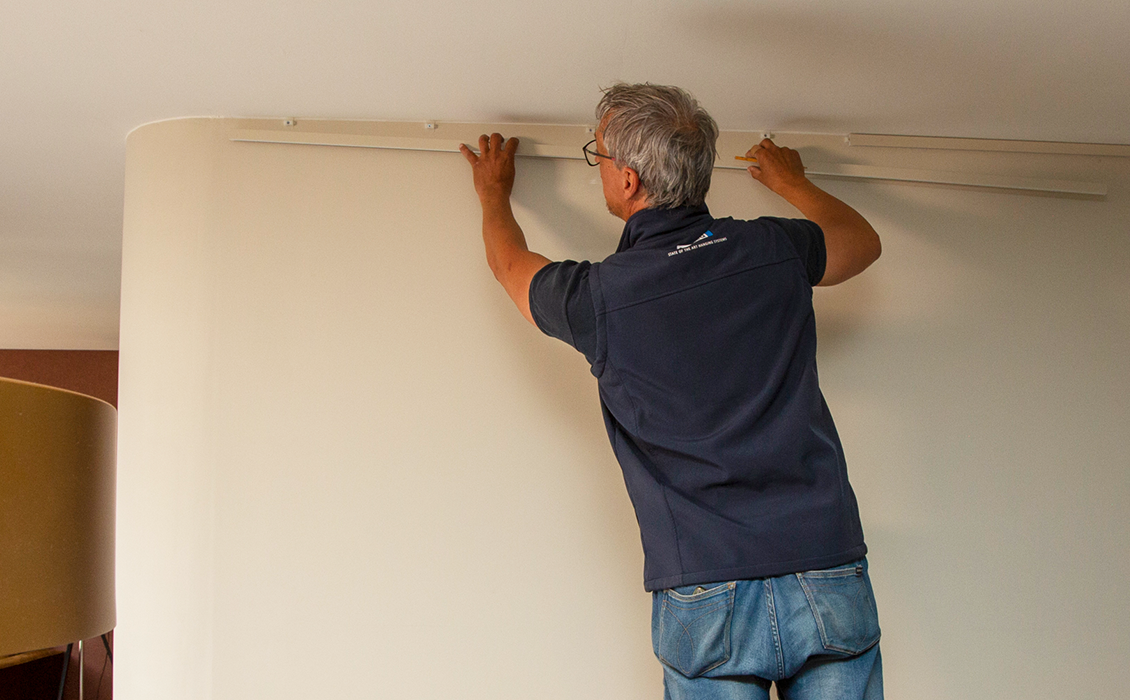
The rail, end caps and corner connectors can be repainted. The best result is achieved by painting the rail in the required colour before it is mounted.
Only the White Primer (RAL9016) versions of our hanging systems can be painted in a different colour.
3. Attaching the Click&Connect clips
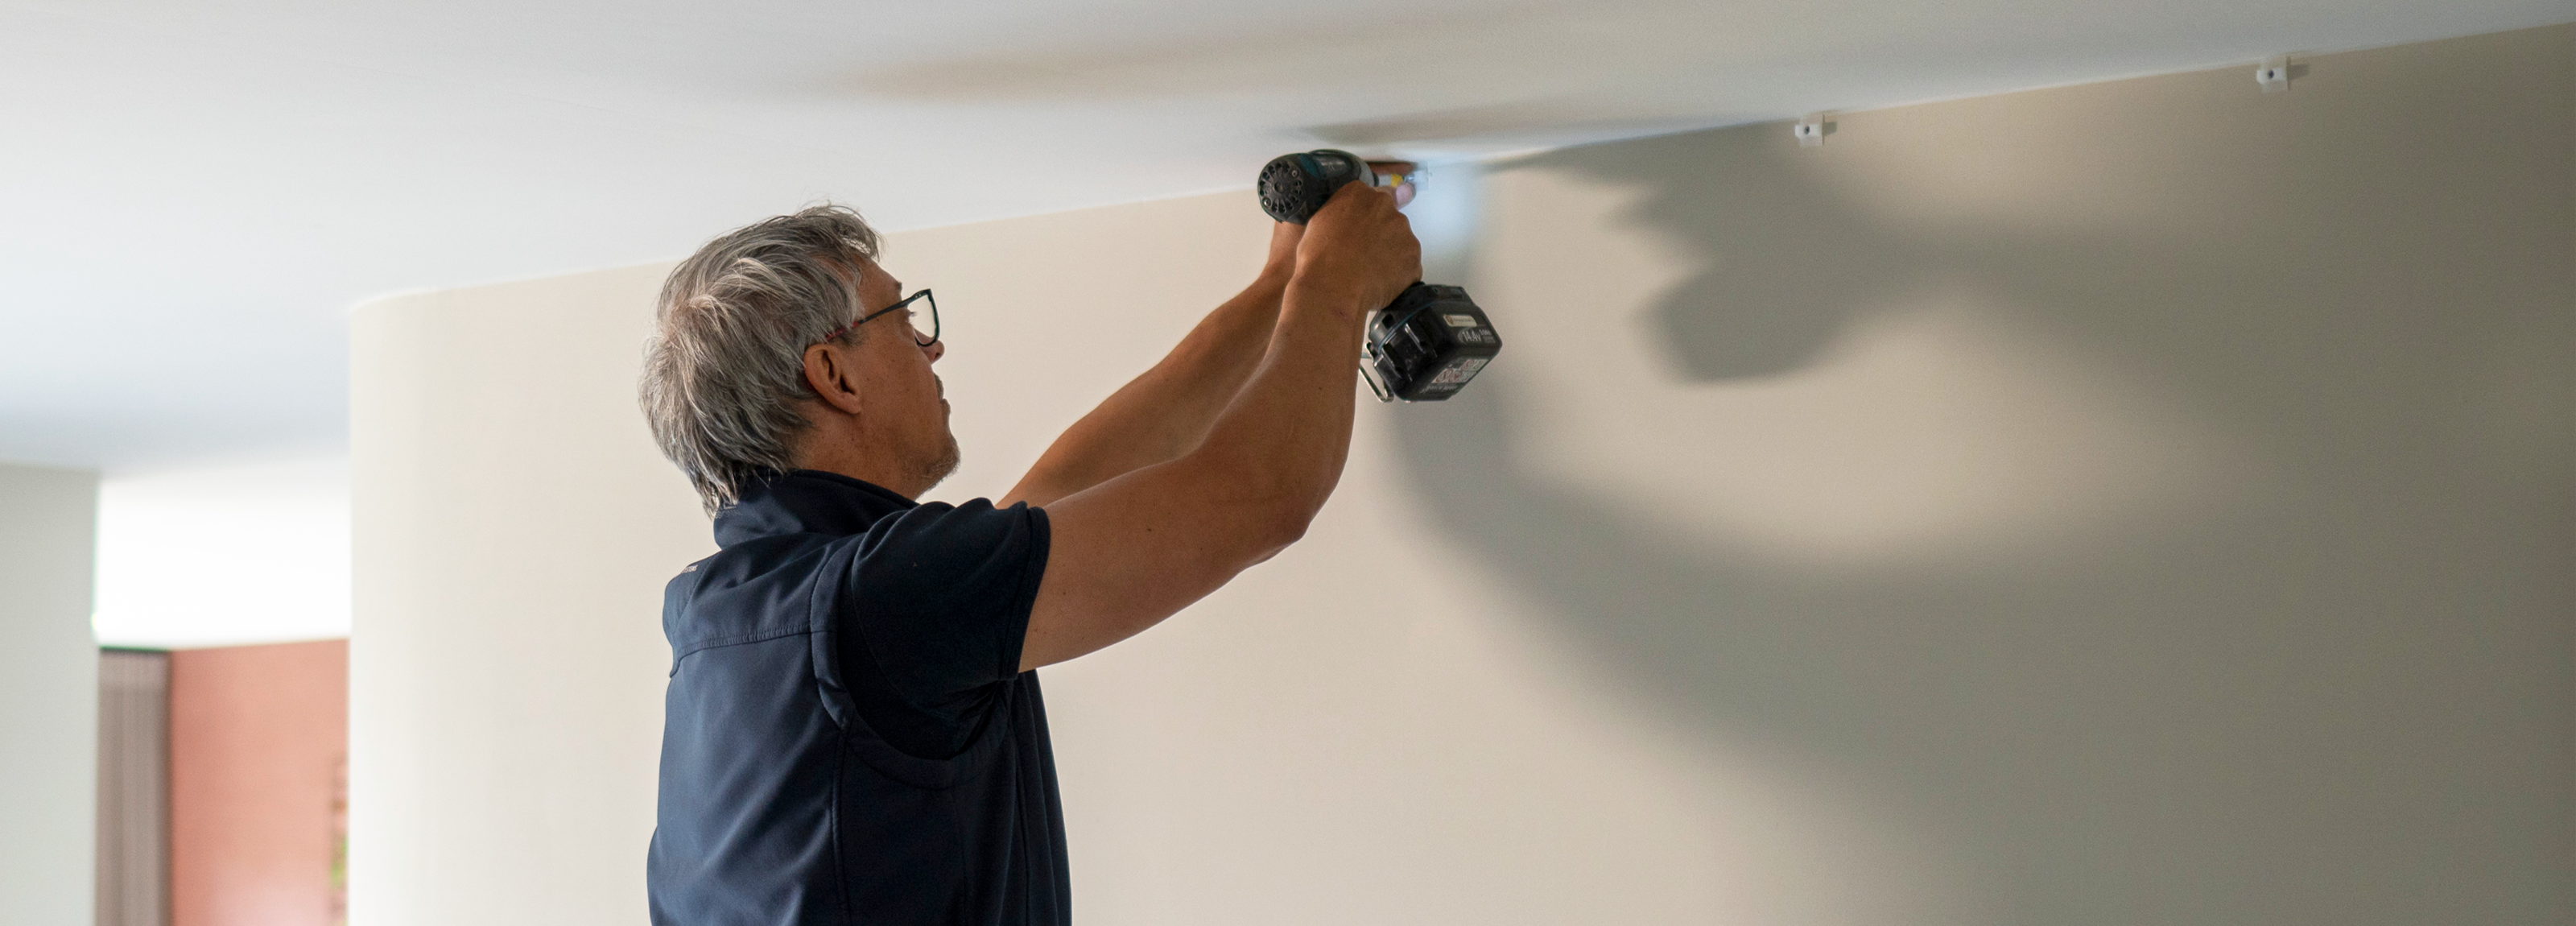
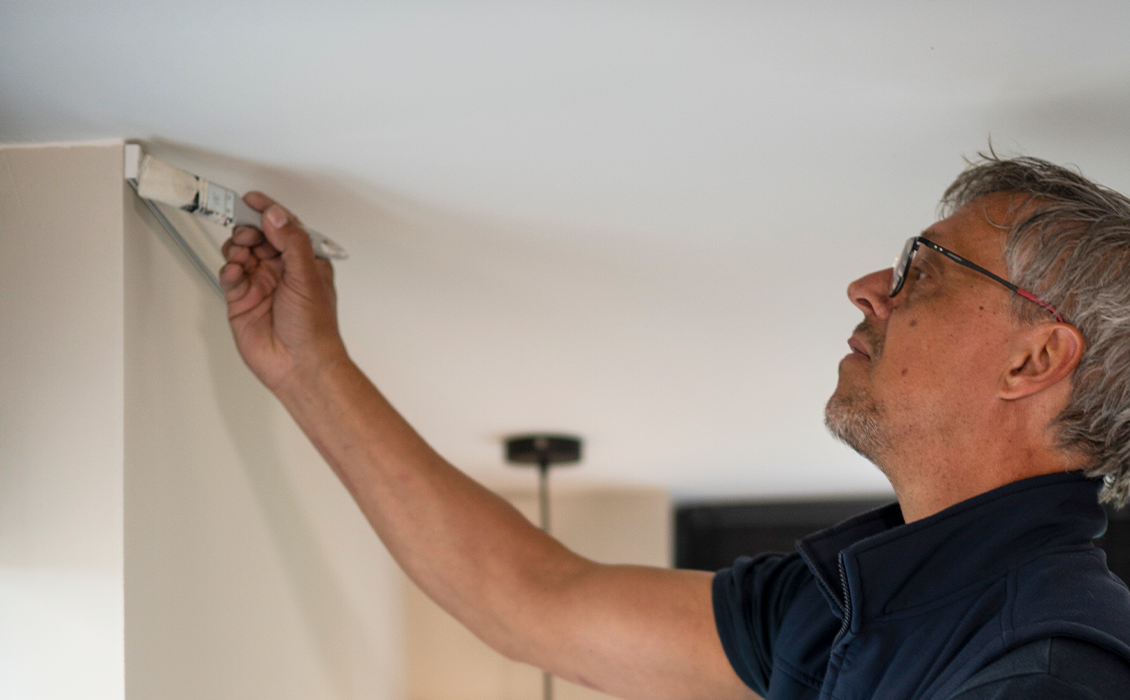
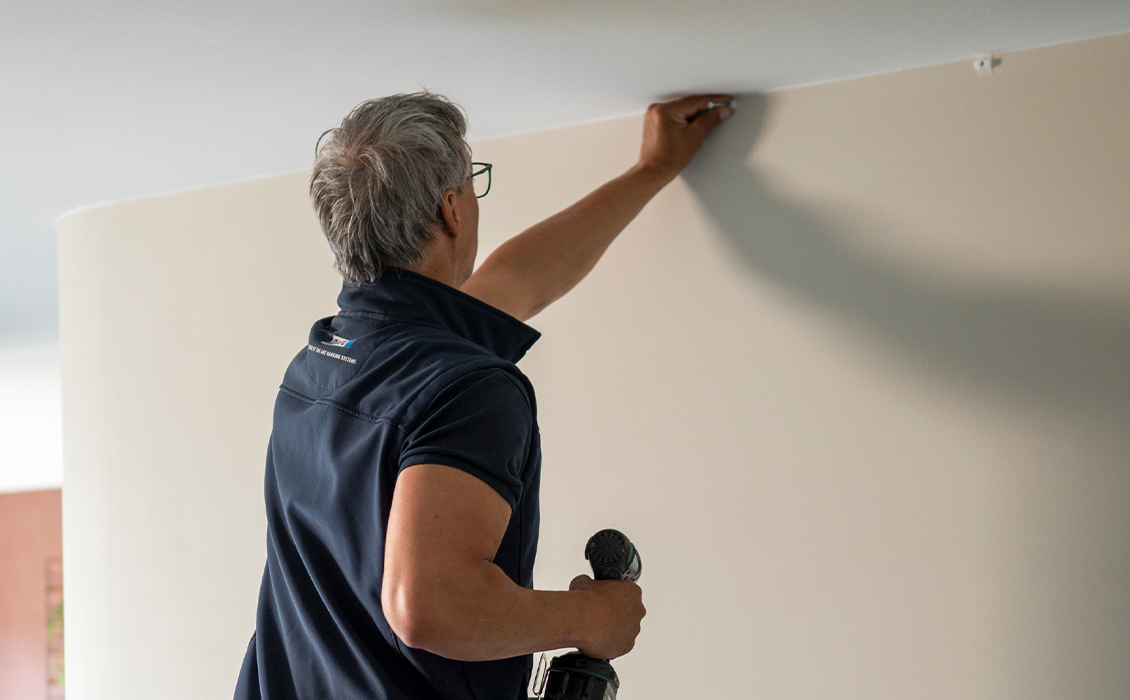
The Click Rail hanging system is attached to the wall using Click&Connect clips. In the bag of fixings supplied with the rail, you will find sufficient numbers of Click&Connect clips, screws and universal plugs (suitable for almost all walls) for hanging the picture hanging system.
The Click&Connect clips are attached to the wall every 40 cm using a plug and screw. The system is usually mounted flush against the ceiling.
4. Cut the rail to size
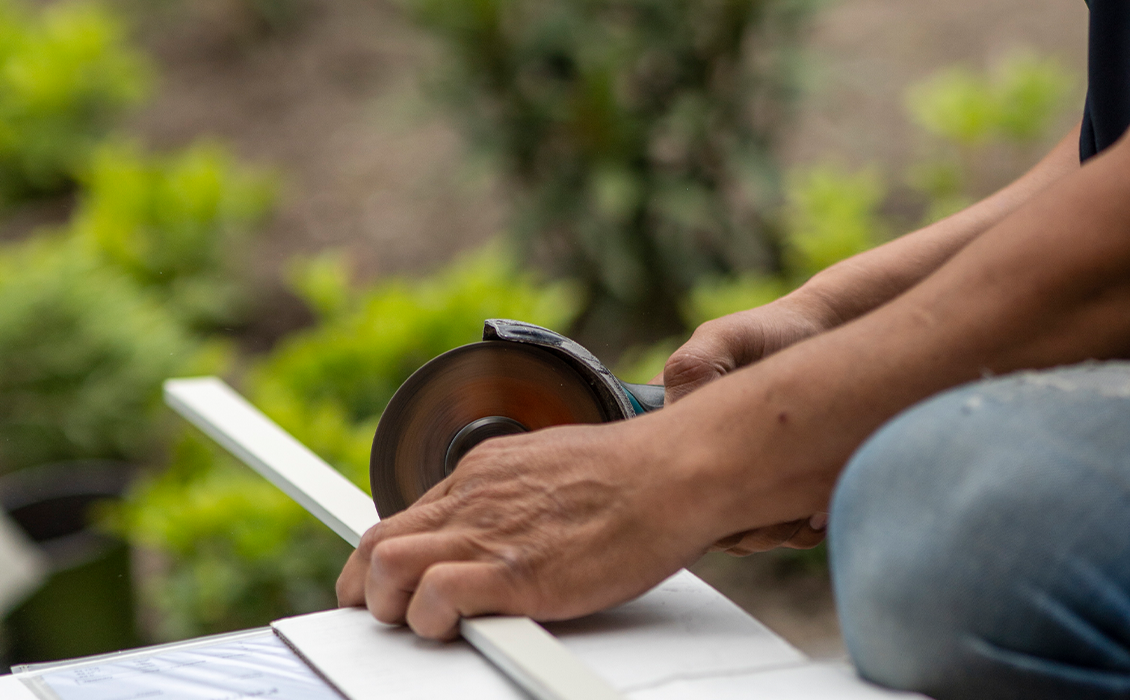
The rail may have to be cut to the correct size. The rail can be shortened using a metal saw. We recommend using a mitre box when making a straight, correctly angled cut.
Before cutting, measure carefully at which point the rail has to be cut. We recommend cutting in such a way that the cut you make is at the end or in a corner of the system.
The rails can easily be attached together using the Click&Connect clips.
5. Click the hanging system
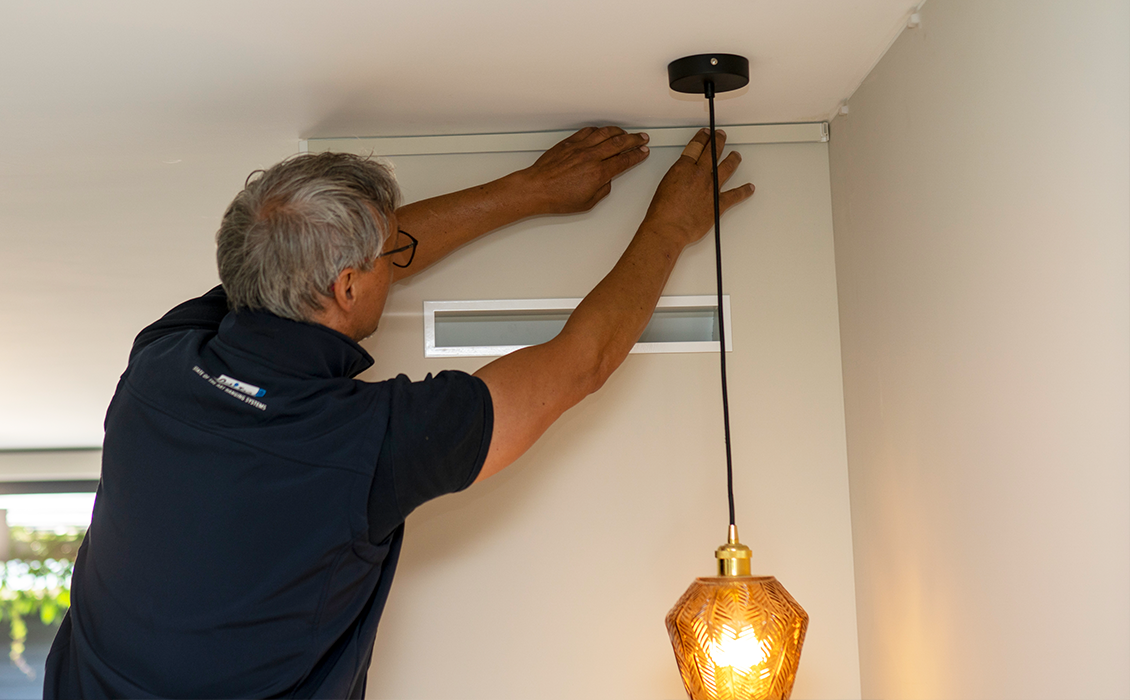
Are all Click&Connect clips hanging? Has the rail been cut to size? The rails can now be clicked onto the clips.
If there is a corner you can use corner connectors to give the rail a complete look. The end caps can then be attached to the rail.
